All of my other projects have gone on the back burner for now. Today I get started on...
The 1/350 scale RMS Titanic!!! DADADADAAAAAA(Big fanfare)

First a review. On a scale of 1-10 I give it a 9. I would give it a 10 but there are some detail issues that I wish they had finished on this kit. ie; More Rivets! There just don't seem to be enough and I really don't know how to add any. On a positive note the box art is amazing and gives me alot of great ideas. I will be lighting this kit, number 1 I think it deserves it, and number 2 It will be easy. I have lots of fiber optics and a great light source.

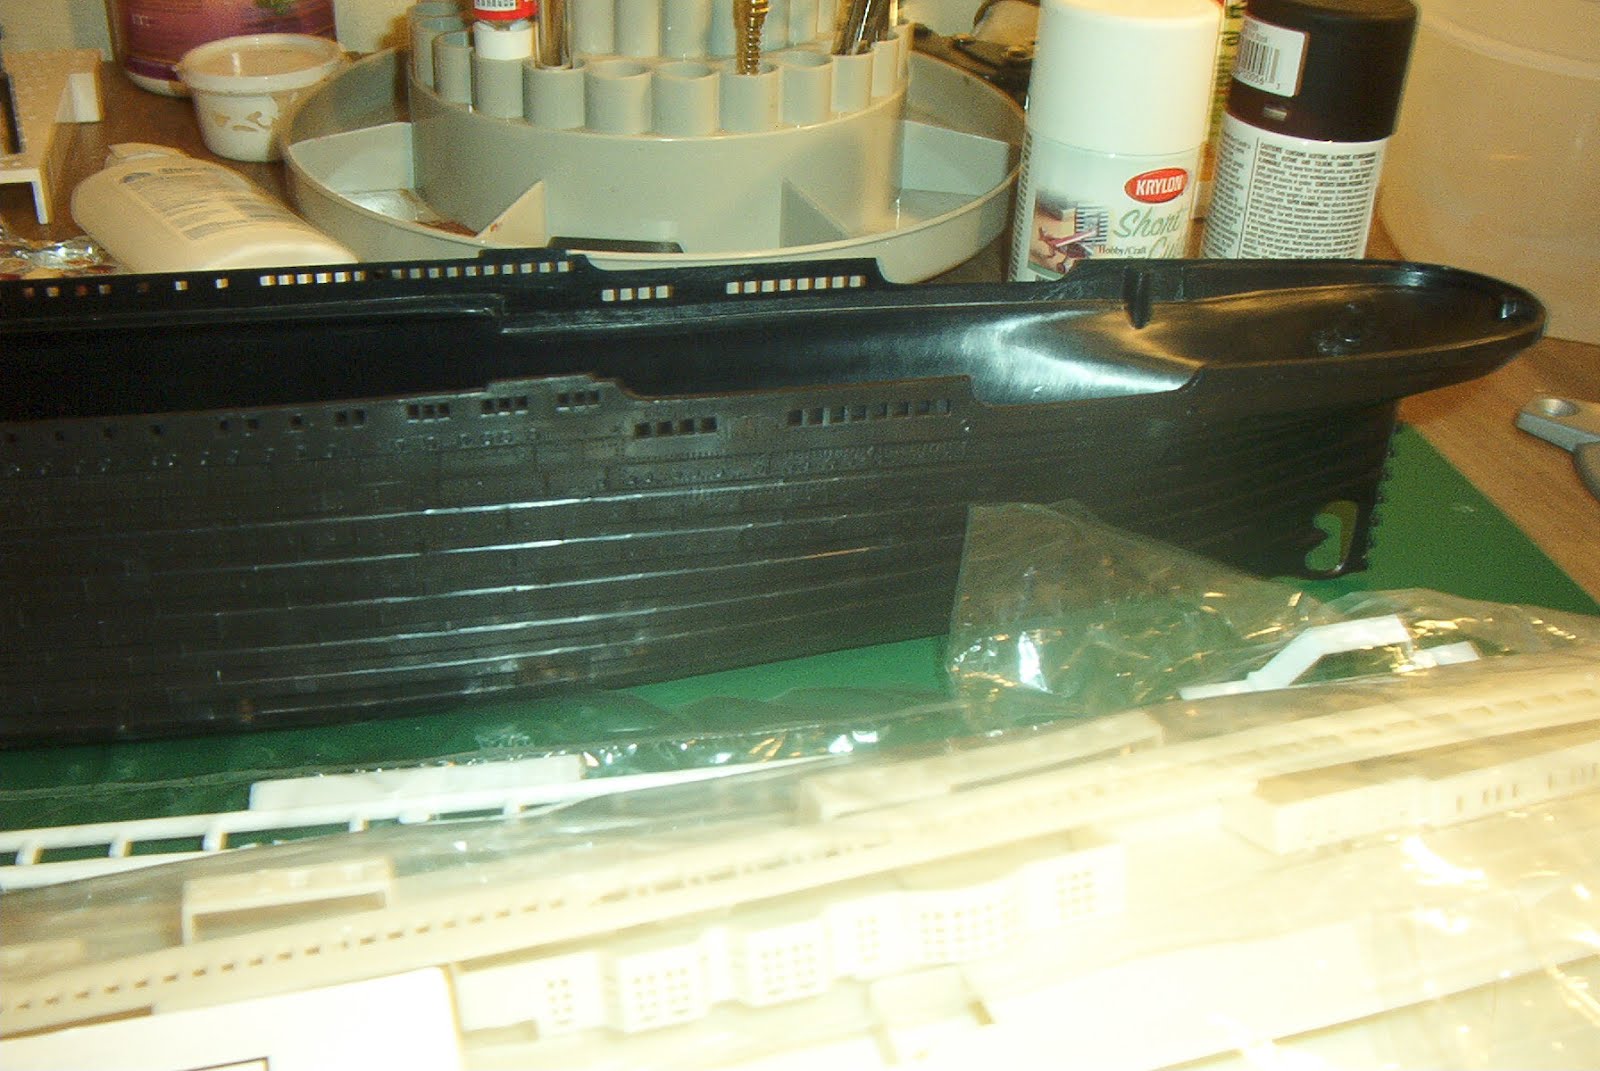
The hull is in one peice. I kinda like this, and I kinda don't. But it does make it that much easier to paint.

The instruction manual even has a brief history of the ship. That is so cool because I am such a history buff.

Lots of parts, lots of painting, lots to do. It is my intention to finish this by April. Lets see if I can do it. :)


You can sort of make out some of the rivets, but I think they should have added more, after all they didn't weld this ship together.


It is a 3 foot long behemoth. If I spelled that wrong I am sorry. lol
She is molded in three colors. Black, White, and off white. I will be brushing the deck colors on as well as the deck detail. I don't own an airbrush, but I think I can do a good job with decking.
I did purchase 3 cans of paint. Flat Black, Red, and Flat White. These will help me get the big painting jobs done and eliminate brush strokes. (I really do need to get an airbrush.)

The stand peices are kind of a Gold colored chrome. I like that. I will post more pics as I go along on this. I have already started drilling out the portholes. Lots of tedium, but will be worth it in the end.
 Some preliminary painting done on the decks has been completed, but there is still a bit left to do.
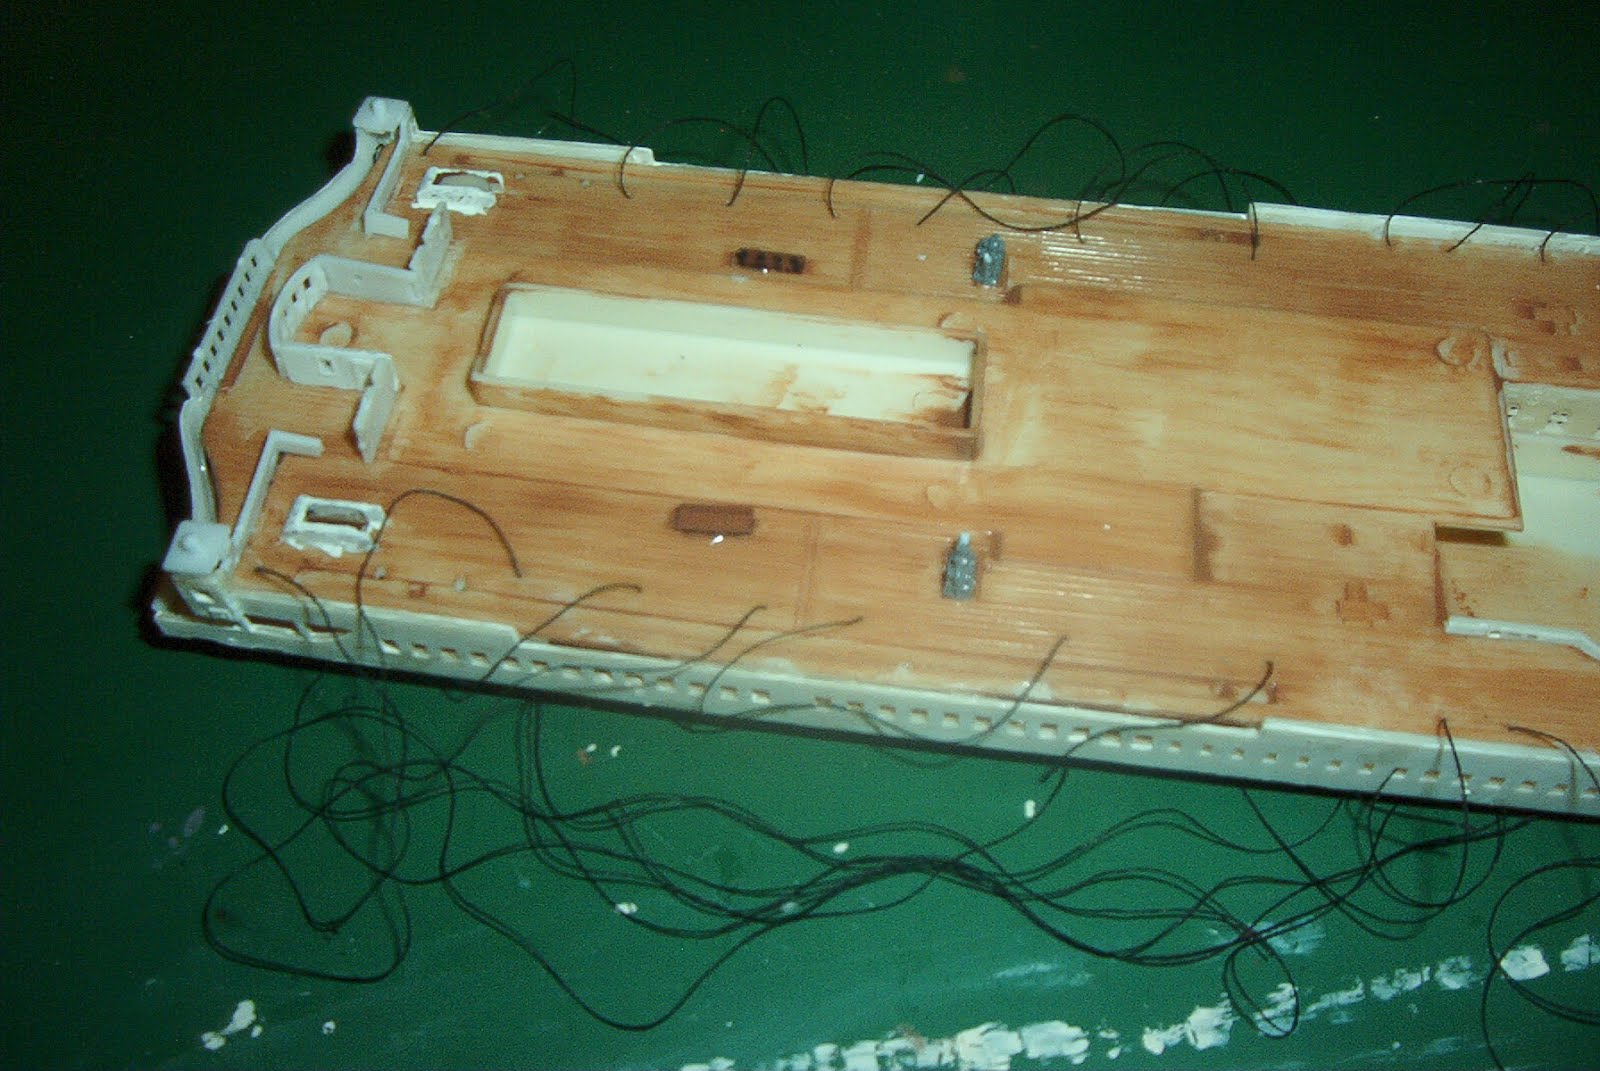 It may look a bit messy now but most of the messy bits will be hidden by other things. I used hot glue on the back side to hold the lines in place. I think it does a much better job than model cement.
 In the long view
 I noticed something that I did not do on purpose, but gives it a bit of authenticity. There is a bit of the bow that looks as though it has hit something. (Will have to get a closeup on it.)