Wednesday, March 14, 2012

TITANIC FINISHED!!!

At long last, I have completed the Titanic.
It was a painful journey, but the effort was well worth it in the end.


So, Ok maybe somebody else could have done better, but for a guy who has a tremmor I think I did a fantastic job of it.


Smoke is made from some batting painted black. I got the idea from somebody else I admit, but a heck of an idea!!

Pain in the *ss was the fact that a couple of decals got ruined when they came in contact with my thinner solution. I swear, when am I gonna learn not to keep those things so close together? (In other words, where is my brain?)

The fun was in the doing but even I would admit more could have been done to do it right from the start, like buying the PE (Photo Etched) parts.

All in all a very worthwhile kit and a fun project. I hope you liked it, (If you are reading this) and if you plan on your own, know that my mistakes may help you to not repeat them. lol


NEXT UP: THE HMS VICTORY!!!!


Sunday, March 11, 2012

Another Titanic Update

Once again I have an update on my Titanic.
First off I have to say that if I had this to do all over again I would have taken a different route. Lots of problems with this kit. Didn't notice them till it was too late. Now I just have to fix all the little mistakes somehow.


"She looks Tres Jolie but is she seaworthy?" (willy wonka and the chocolate factory)
From a distance she looks fine but closer in and the mistakes become quite obvious, lots of touch up painting to do.

I ruined all but six of the railings included with the kit, and for some reason the PE parts that were supposed to be here arent. Teaches me not to buy second hand. Oh well. The first and second funnel are done and I think they look ok. Maybe not up to some standards but then I also have alot of touch up white to do. I used some eyebolts from a 1/96 scale constitution kit and they work perfectly.


Started the 3rd funnel. BTW I had to redo the decks earlier as I ran out of the formula I had mixed up before. Now I wish I had gotten a can of the wood for the decks before I had even began. But all in all not really all that bad.


Second funnel close up.


A fuzzy pic, need a new camera.


Okay, laugh all you want at the yellow line but honestly, hard to do. I will touch up this with black and white to straighten it.


Details, details. Lots of details. I will caution model builders, this kit is maddening! Be prepared. I wasn't. Below is a list of things you SHOULD have before doing this kit...


Photo etched railings

Spray paint (White, Black, Red, and Wood)

Small paint bottles (White, Black, Wood, Rust, Green, Gold, Steel or Aluminum)

Glue

Brushes

A hot surface but not fire

Scissors

Tweezers

Masking tape

Sandpaper

Drill, dremmel, or pin vise

Clamps

PATIENCE!!!


Sunday, March 4, 2012

NEWLY AQUIRED!

I am totally stoked! I just aquired the 1.100 HMS VICTORY!!!
I took a browsing trip to a local antique mall on a whim Saturday, and turning a corner I found a booth with about 6 model kits including a 1.96 scale Constitution and this one and since the price was right ($43.80 including tax) I just had to have it!!!

The kit is HUGE! The box alone measures a good 3'x 2'x3" and the artwork is beautiful.


Everything is there except some thread which is no problem since it is fairly cheap.


The instructions are in both French and English. At first I thought there were only the French ones but looking further I found the English ones. (WHEW! Thought I was gonna have to learn French.)


For those of you who know the kind of detail in the Constitution, throw all that out the window. This thing has more detail than you can shake two sticks at. It has got two tools in it that I wish I had had long ago and will keep long after I finish this thing. One is a tool for making Ratlines and the other is a tool for making netting. I may even utilize these tools to finish my Constitution.


Tuesday, February 21, 2012

Another Titanic Update

I have been working steadily on my Titanic, though there is still alot of work to do yet.


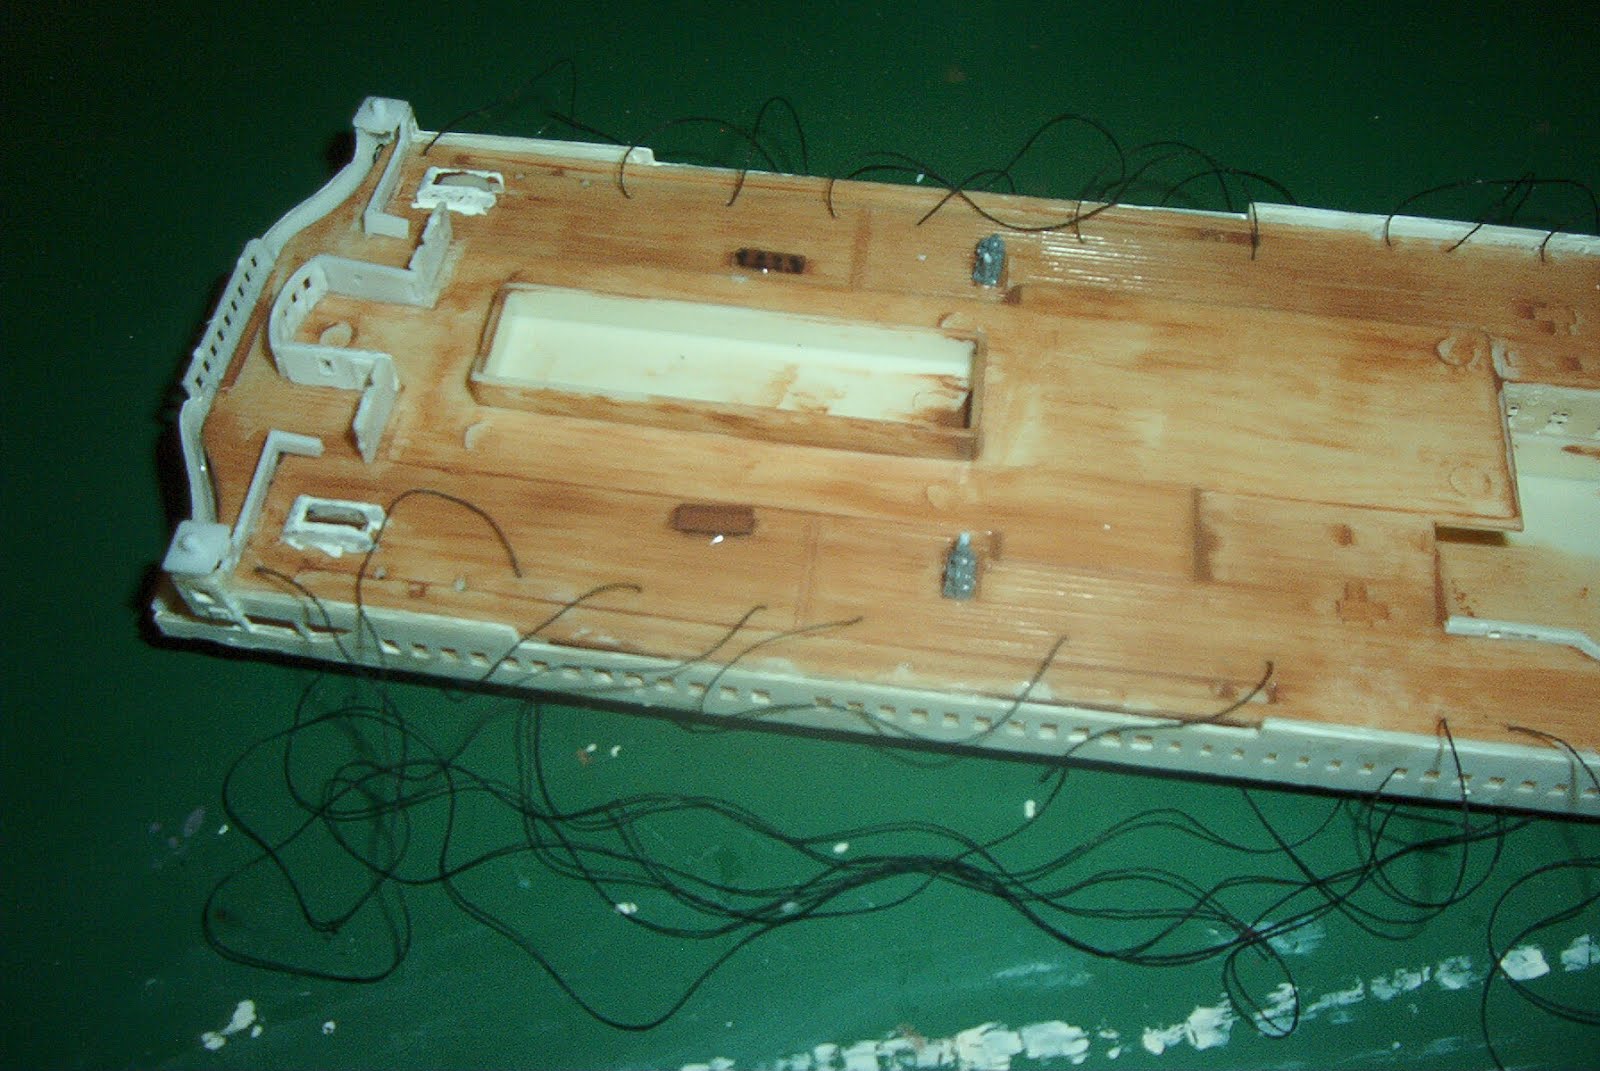
Some preliminary painting done on the decks has been completed, but there is still a bit left to do.

It may look a bit messy now but most of the messy bits will be hidden by other things. I used hot glue on the back side to hold the lines in place. I think it does a much better job than model cement.


In the long view


I noticed something that I did not do on purpose, but gives it a bit of authenticity. There is a bit of the bow that looks as though it has hit something. (Will have to get a closeup on it.)


This project is really fun. I highly recommend this kit if you can get it.


Saturday, February 11, 2012

Titanic Update 2/11/12

Just a bit of an update on my Titanic.


Painted the hull and put in the fiber optics, gotta wait til the glue dries to do any more. Drilling out the portholes took awhile and although I had intended to light the whole ship, I went with the "Pretty" side. to use the F.O. on.


Took a closeup of the bow to give you an idea of the things I am doing to add realism. ie; the scratches down the hull from when Captain smith ordered the anchors lowered to the water line while still in port.


The colors didn't come out right on the camera, but let me assure the nitpickers that the colors are correct to the period and to the ship itself.


Figuring out how to make Whitestar Buff for the funnels wasn't easy. Again, the camera doesn't show it right but they are not orange, they are in fact Whitestar Buff and flat black. When I get to that step I will further detail them with some steel and some smoke blackening on all but the forward funnel.


Wednesday, February 8, 2012

TITANIC

All of my other projects have gone on the back burner for now. Today I get started on...
The 1/350 scale RMS Titanic!!! DADADADAAAAAA(Big fanfare)


First a review. On a scale of 1-10 I give it a 9. I would give it a 10 but there are some detail issues that I wish they had finished on this kit. ie; More Rivets! There just don't seem to be enough and I really don't know how to add any. On a positive note the box art is amazing and gives me alot of great ideas. I will be lighting this kit, number 1 I think it deserves it, and number 2 It will be easy. I have lots of fiber optics and a great light source.


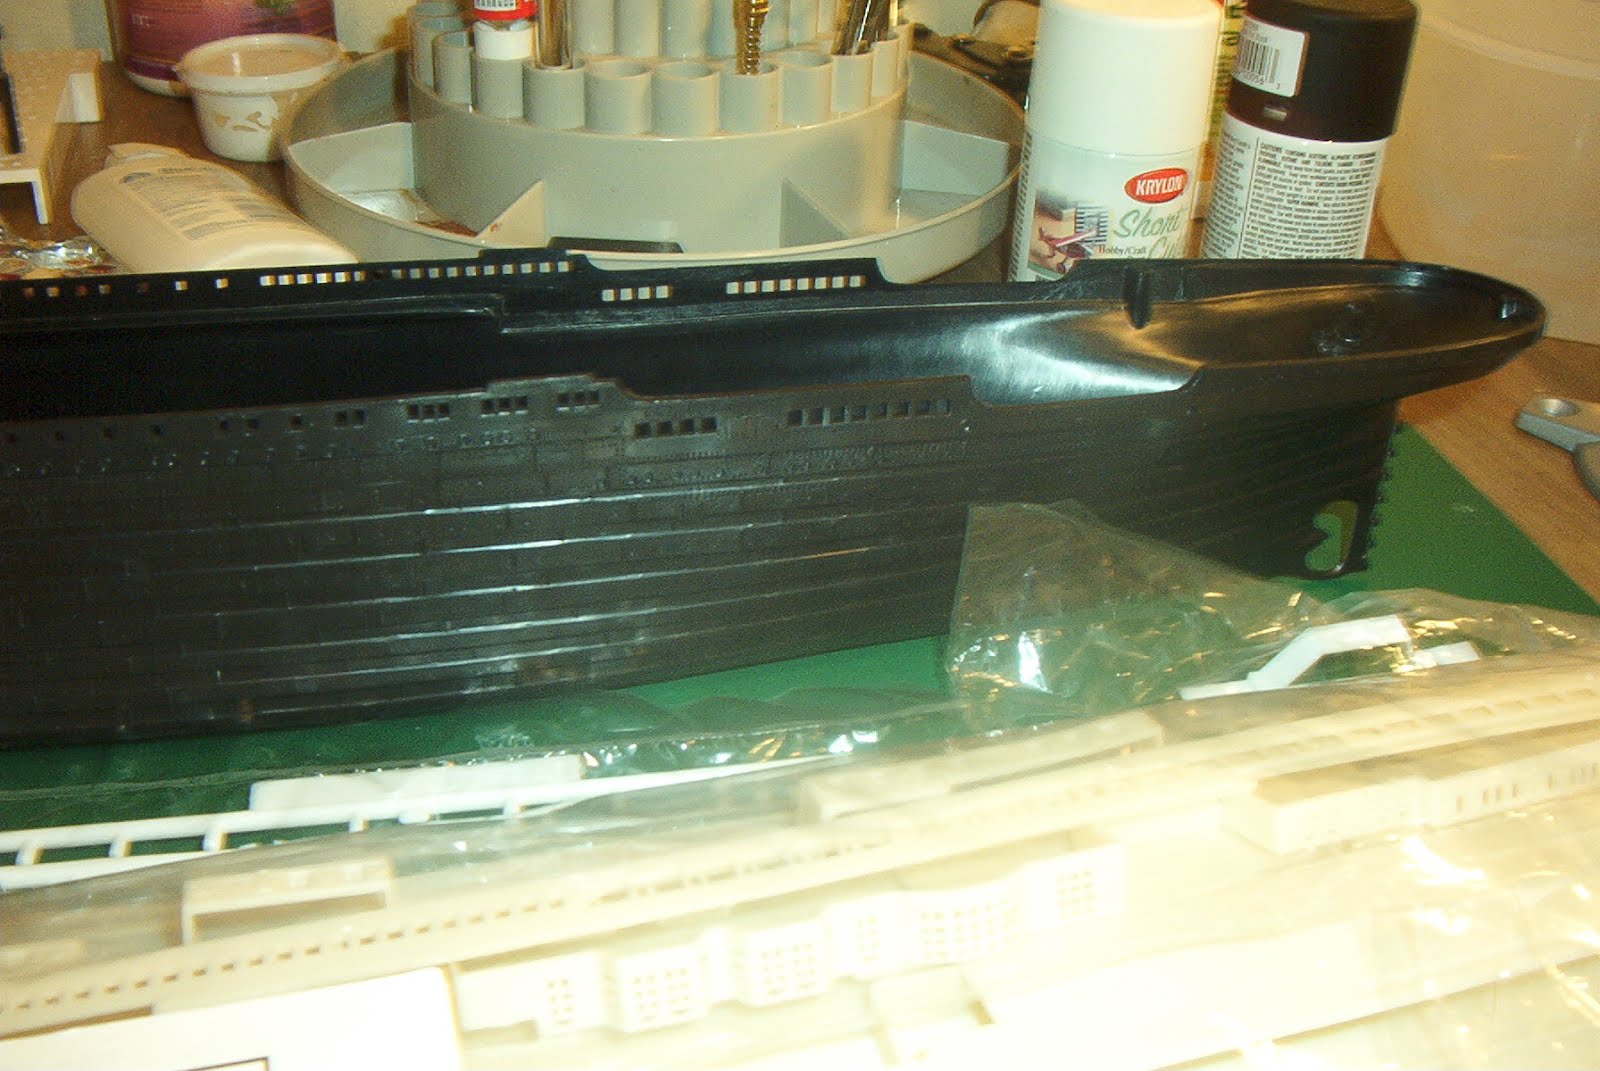
The hull is in one peice. I kinda like this, and I kinda don't. But it does make it that much easier to paint.


The instruction manual even has a brief history of the ship. That is so cool because I am such a history buff.


Lots of parts, lots of painting, lots to do. It is my intention to finish this by April. Lets see if I can do it. :)


You can sort of make out some of the rivets, but I think they should have added more, after all they didn't weld this ship together.


It is a 3 foot long behemoth. If I spelled that wrong I am sorry. lol


She is molded in three colors. Black, White, and off white. I will be brushing the deck colors on as well as the deck detail. I don't own an airbrush, but I think I can do a good job with decking.


I did purchase 3 cans of paint. Flat Black, Red, and Flat White. These will help me get the big painting jobs done and eliminate brush strokes. (I really do need to get an airbrush.)


The stand peices are kind of a Gold colored chrome. I like that. I will post more pics as I go along on this. I have already started drilling out the portholes. Lots of tedium, but will be worth it in the end.


Friday, December 30, 2011

Have a GREAT NEW YEAR!!!

It has been a spectacular year in modelling for me. I hope 2012 will bring even greater things.
So to all I say...Happy New Year!!!